What started me on my quest to extend my WiFi network in our 100 year old home, was the installation of a ring.com WiFi connected video doorbell. In order for the doorbell to perform correctly, it needs a strong WiFi signal. The problem I have in this old house, is that my Comcast Xfinity modem/router is on the third floor, and my doorbell is on the first floor. Connectivity down there was non-existent until I installed a Netgear WiFi Range Extender.
That helped, but the doorbell software kept reporting ill health. I wanted to review the Netgear Orbi WiFi solution, but that isn't available for review right now, so when eero contacted me about reviewing their solution, I agreed.
Better Coverage Than Before
After completing the install of the three eero units, I now have better coverage than before, with WiFi at my front door, going from non existent, to 840 kbps with the Netgear extender, to 45 Mbps with the eero. It's a success. Also, all my existing WiFi connected devices still work after the installation. I was concerned that I'd run into problems, but the only hiccup was that I now have a WiFi connected laptop and printer instead of hardwired connections. That's probably the result of an old 10/100 switch I am using.
Regarding Speed
From the eero website:
Unlike traditional routers, which optimize for the speed you get when standing right next to them, the main goal of eero is whole-home coverage. Sure, speed is important, but only up to a point. Streaming the highest quality 4K HD video only requires a 25 Mbps connection, and Netflix HD only requires 5 Mbps.
Bottom line: getting super high speeds directly next to your router isn’t as important as consistent coverage throughout your home.
Here's my experience installing and testing the eero WiFi system.
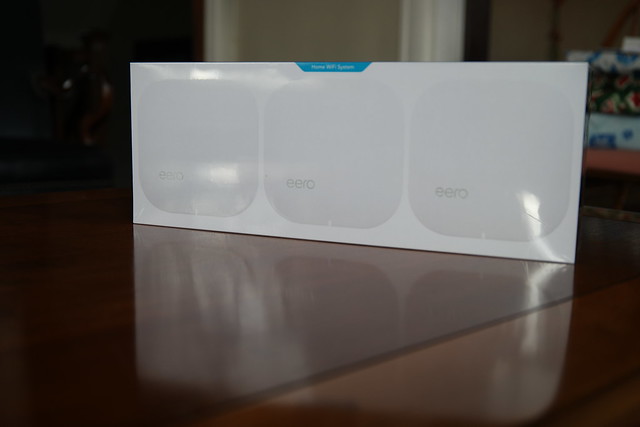
Unboxing
I received an eero Home WiFi System 3-pack, LIST PRICE $ 499.00, for review. It's well packaged, following the Apple model of impressive design.
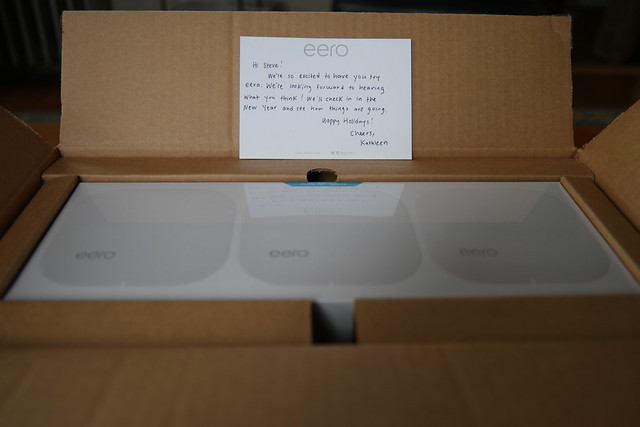
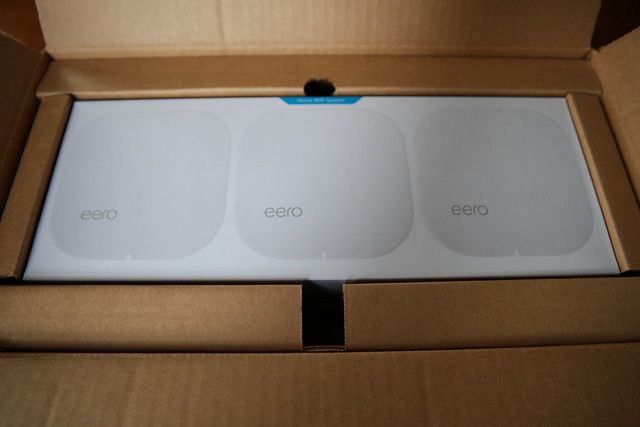
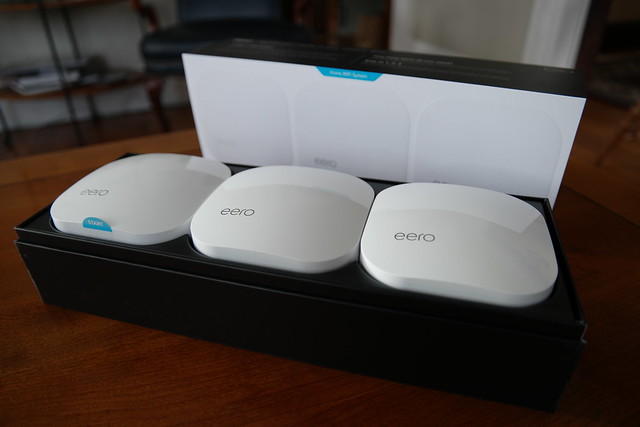
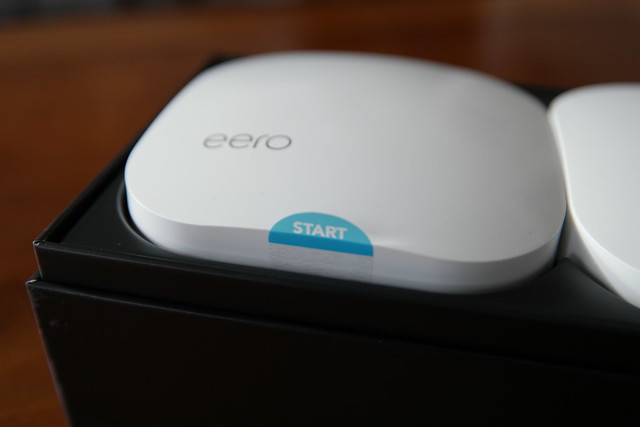
It's very welcoming, indicating where to start with a START sticker. Makes sense.
Buy on Amazon.com eero Home WiFi System (Pack of 3) - Blanket Your Home in WiFi, Replaces Wireless Router and Range Extender, Gigabit Speed, WPA2 Encryption [ Affiliate Link]
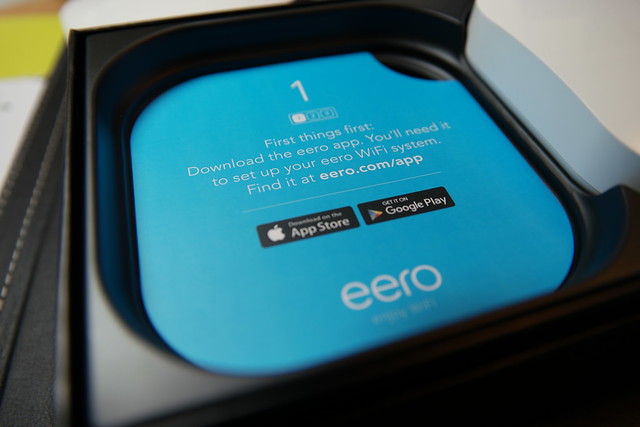
Download the App
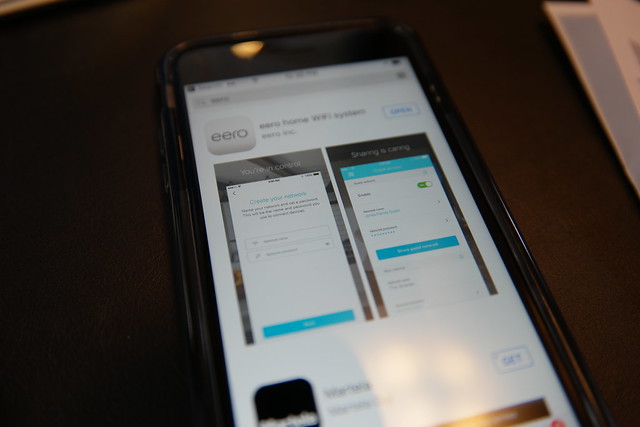
Welcome to eero
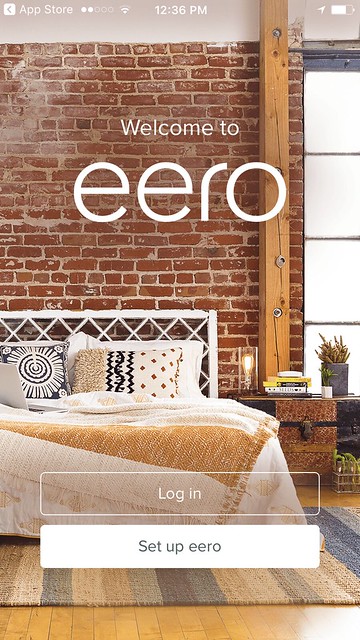
Image: Welcome to eero App splash page
The app is very straightforward and guides you through the set up. I have a Comcast Xfinity modem/router and the instructions asked me to enable bridge mode. That was easy. Then the app started reporting an error, "Trouble connecting to the Internet." I knew that I had an internet connection because my laptop was hardwired to the modem and I was still able to browse with Safari. So I called the help number for eero, and someone answered right away. They were knowledgeable about my situation and suggested disabling bridge mode, creating the eero nnetwork, and then when set up was complete, enable bridge mode again.
That worked.
When I came time to naming my network, I chose the existing name of my fastest network, Skynet-5. All the other network names would be removed after enabling bridge mode since that shuts off the WiFi routing from the Comcast Xfinity modem.
I also unplugged my Netgear extender, so goodbye to Skynet-2.4. Skynet-5_EXT and Skynet-2.4_EXT. Switching networks was a pain and I'm glad that I now just have to use the one network at home.
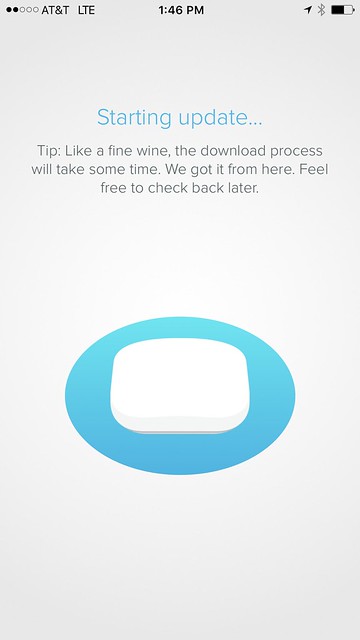
Post Install - eero Update
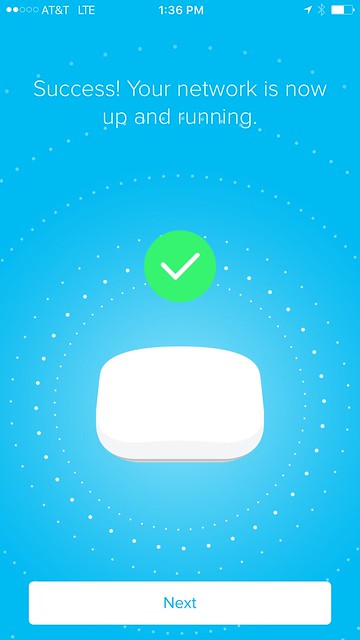
Success - Your Network Is Up and Running
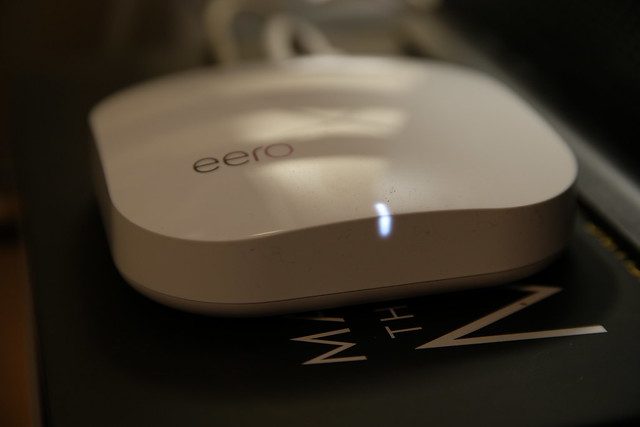
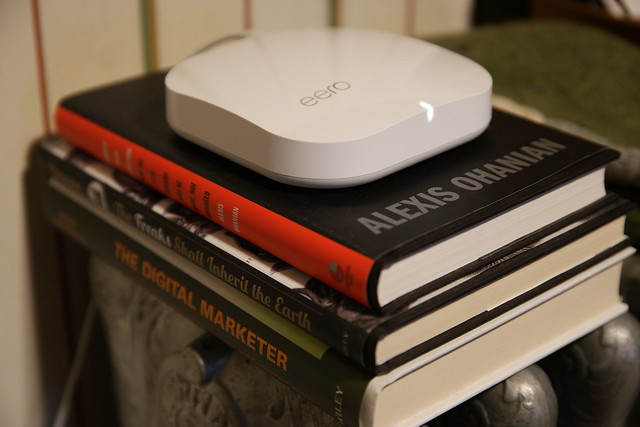
Here's a physical tour of an eero.
Now let's take a look at each of my installed eeros.
eero ONE
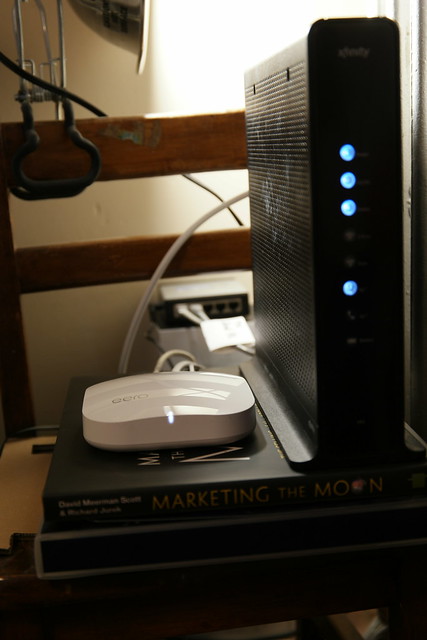
CONNECTION: COMCAST XFINITY MODEM -> eero ONE
CONNECTION:
eero TWO
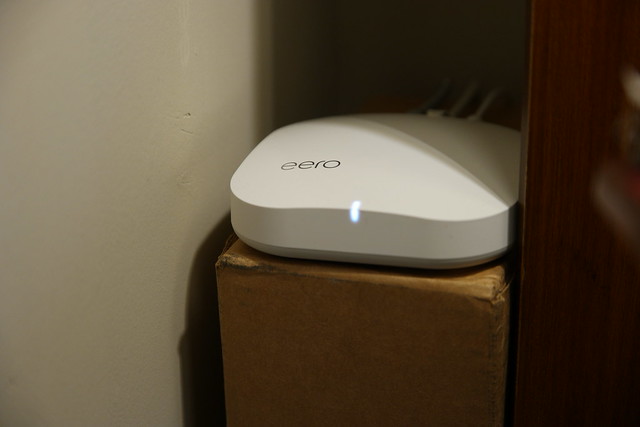
CONNECTION: eero TWO -> TiVo
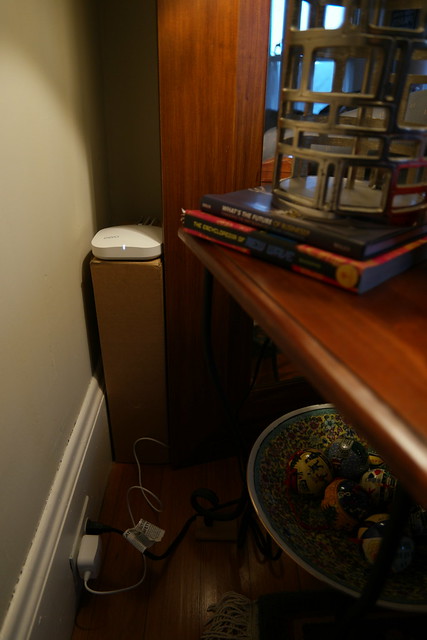
eero THREE
CONNECTION: NONE
SPEEDS
OFFICE
BEFORE 180 Mbps, 130 Mbps
AFTER 230 Mbps, 190 Mbps, 170 Mbps
KITCHEN
BEFORE 130 Mbps, 84 Mbps
AFTER 180 Mbps, 31 Mbps, 19 Mbps
FRONT DOOR
BEFORE NO SERVICE
BEFORE/Extender 840 kbps
AFTER 45 Mbps
Dead Zone is No Longer Dead
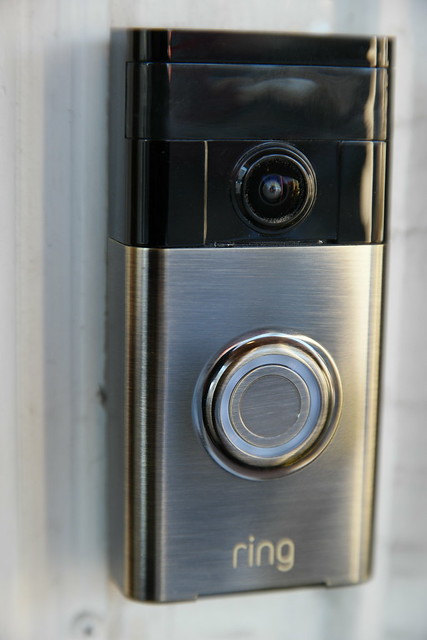
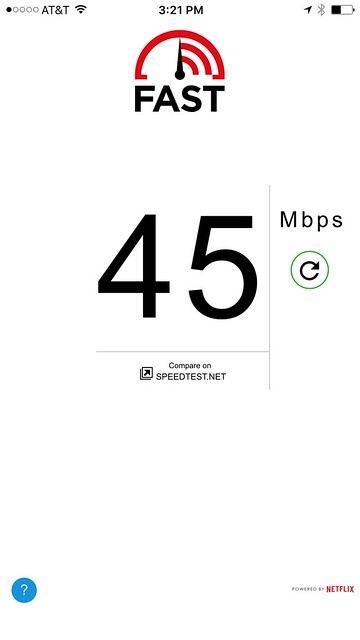
Image: Fast.com Speed Test at Front Door
Prior to installing the eero, I was extending my WiFi network with a Netgear Extender. My Ring.com doorbell kept reporting a weak signal.
Now, after installing three eero units, one upstairs on the third floor near the modem, and two on the second floor, the signal at the front door is 45 Mbps. Prior to the eero install, the front door could not get any WiFi service from the 3rd floor Comcast Xfinity Modem/Router, and only received a weak 840 kbps WiFi signal after installing the Netgear Extender.
Now with 45 Mbps, the Ring.com door bell reports Very Good signal strength health.
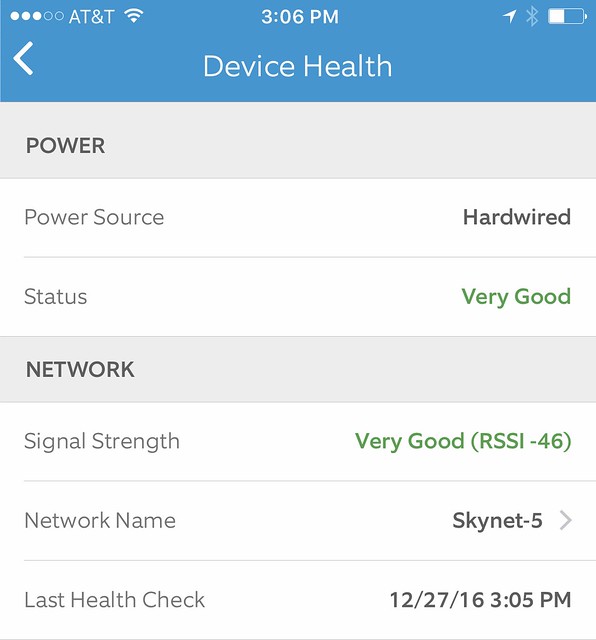
Image: Ring.com Device Health report
Here's how to change the WiFi network on an installed Ring Video Doorbell.
More information
eero community
eero blog
eero on Facebook
eero on twitter
eero on Inatagram
Alternatives
Google WiFi System.
Netgear Orbi.
Disclosure: I received eero WiFi system with TrueMesh for free in return for my honest opinion. This review reflects my honest opinions, findings, beliefs and experience.
UPDATE:
I gave this eero system to my cousin who was experiencing weak signals in parts of his house.
Here's his report.
"Had some weaker areas that weren't totally dead but they're regular speed now."
Speed test: